The Head
The head of the robot is the most complex part of the build in terms of heat inserts, as it contains mounting holes at an angle, which can be a tricky to place straight.
The head is split into 5 parts, with 2 of them having heat inserts : The Backplate and the Visor.
The Backplate
Let's start with the backplate, which is the easiest part to place heat inserts on, as all the holes are straight and perpendicular to the surface of the part.
For this step, you'll need these heat inserts:
| ID | Size | Description | Quantity |
|---|---|---|---|
| 1 | M2.5 x 2mm | Top / Bottom Cover Holes | 4 |
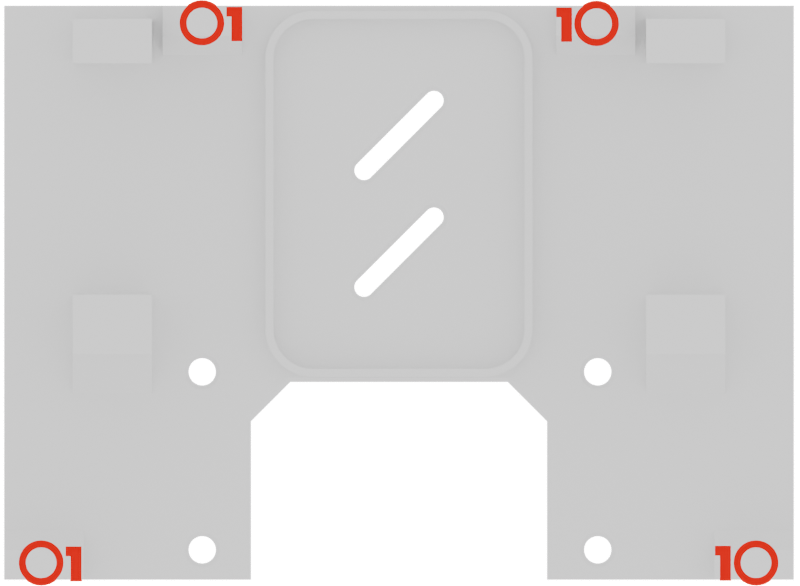
These holes are used to mount the Top and Bottom parts of the head to the backplate.
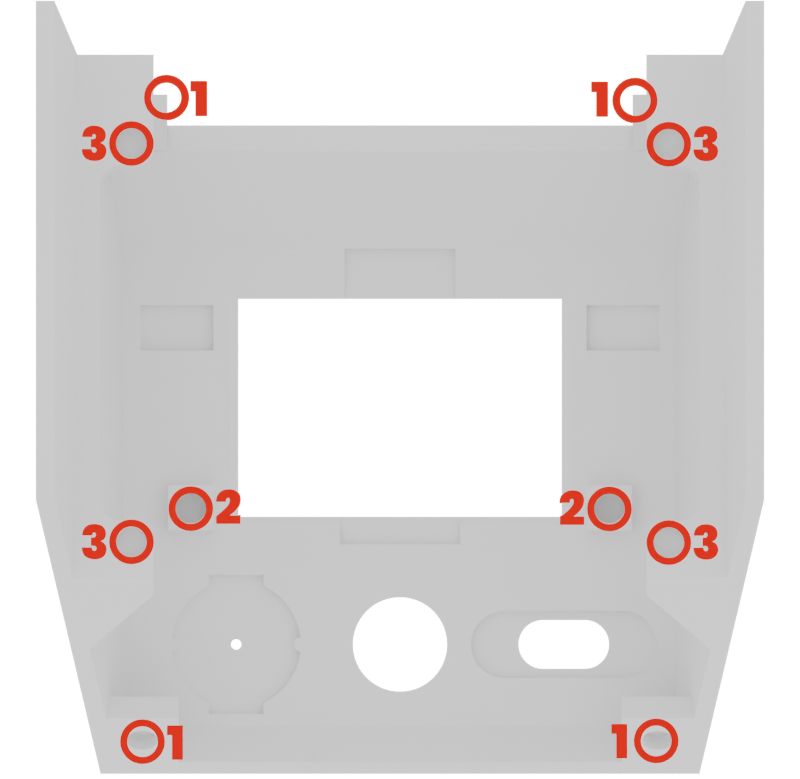
The Visor
We'll continue with the visor, which is the most complex part to place heat inserts on. So take your time with this one, and make sure to place the inserts straight and flush with the surface of the part.
For this step, you'll need these heat inserts:
| ID | Size | Description | Quantity |
|---|---|---|---|
| 1 | M2.5 x 2mm | Top / Bottom Cover holes | 4 |
| 2 | M2.5 x 2mm | Faceplate mounting holes | 2 |
| 3 | M2.5 x 2mm | Main PCB mounting holes | 4 |
Final inspection
After placing the heat inserts, make sure to inspect the part to check that all the inserts are properly seated and flush with the surface of the part.
If you notice any issues, such as an insert that is not fully seated or is tilted, you can try to reheat it and adjust its position until it is properly placed.
The Head is done! Let's finish with two little simple parts now!